
Engineered wood flooring incorporates the premium properties of natural wood, making it a top choice among consumers. Despite its strong properties, it can still suffer from wear, damage, or age.
Knowing how to repair and restore engineered wood flooring can extend its life, preserve its appearance, and ensure its continued performance. This article aims to explore the basic steps and considerations for engineered wood floor repair and restoration.
Identifying the Damage
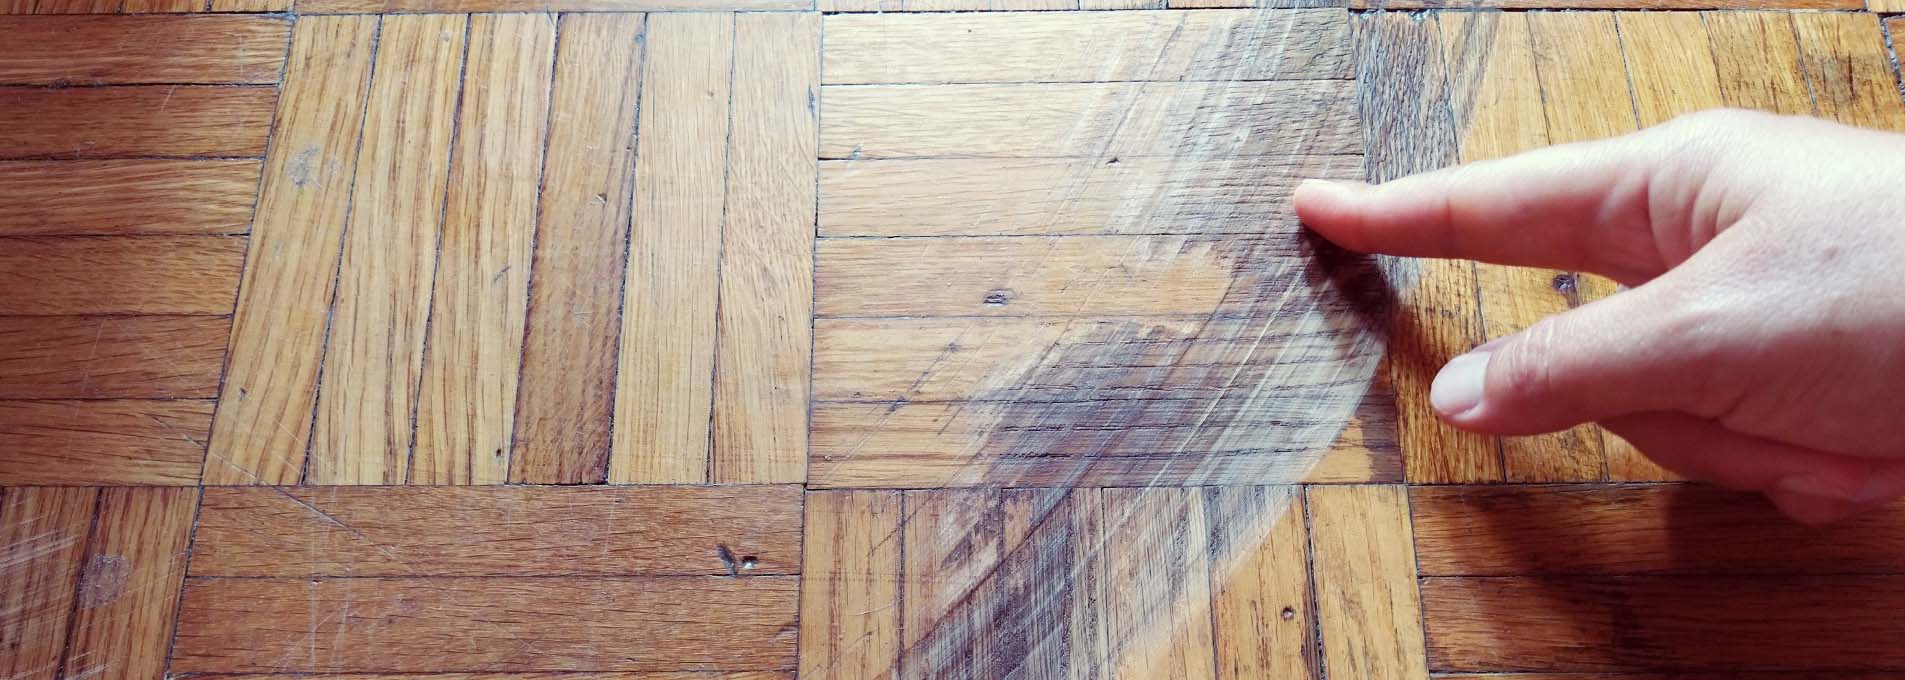
The first step in any repair process is to assess the extent and type of damage. With daily use, floors can experience a variety of repair issues, including scratches, dents, water damage, and fading. Each type of damage requires a specific approach:
- Scratches and Dents: These are common due to daily wear and tear, furniture moving, and pet activity.
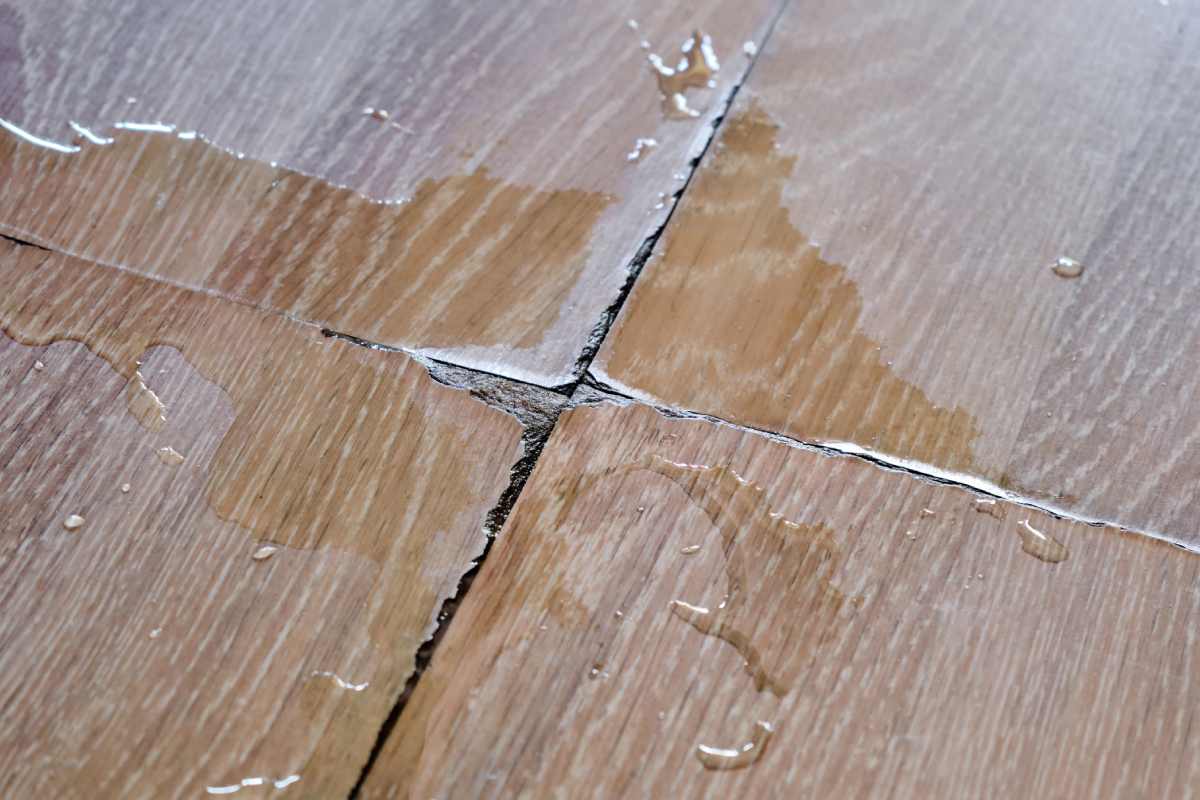
- Water Damage: Engineered floors are more resistant to moisture than solid hardwood, but prolonged exposure can still cause swelling or warping.
- Fading and Discoloration: When exposed to sunlight, UV rays gradually weaken the color of the wood by eroding the surface of the floor.
- Peeling Veneer: In some cases, the veneer may peel or chip, especially in lower-quality products.
Step-by-Step Repair and Restoration Guide
Damage Assessment: Before starting any repairs, it is crucial to assess the damage and extent of damage to your flooring. Light scratches and minor dents are typically easy to fix, while severe water damage or structural issues may require more extensive repairs or even replacement of sections of flooring.
Cleaning and Preparation: Clean the area thoroughly before starting any repair. Apply a wood cleaner designed for engineered floors to eliminate dirt and debris.
Scratches and Small Dents Repair:
- Light Scratches: Apply a matching wood putty or a wax repair stick to fill in the scratches. Lightly polish the area so that the repair blends seamlessly with the adjacent wood so that it does not differ significantly in color from the intact area.
- Deep Scratches and Dents: These might require sanding before filling. Once sanded, use wood filler that matches the floor color, fill the dent, and allow it to dry. Sand the area smoothly and wipe clean.
Dealing with Water Damage:
- If the damage is minimal (slight cupping or warping), using a dehumidifier to remove excess moisture can sometimes reverse the damage.
- In cases of severe swelling or lifting, it is necessary to replace the affected section. This involves cutting out the damaged planks and replacing them with new ones. Ensure the new planks match the existing floor in thickness, color, and grain.
Refinishing Engineered Wood Flooring:
- If the top veneer layer is thick enough (generally more than 2mm), sanding down the surface and applying a new finish can restore the floor to its original condition.
- After sanding, clean the floor thoroughly and apply a new coat of wood finish. Use a finish that matches the original as closely as possible.
Preventive Measures and Maintenance:
- Place protective pads beneath furniture legs to avoid scratching.
- Laying carpets in areas with high traffic can not only protect you but also add to the aesthetics of the space.
- Keep the humidity levels in your home consistent to avoid getting too wet or too dry, which can cause the wood to expand or shrink.
- Regularly clean the floor with products designed for engineered wood flooring.
Conclusion
Repairing and restoring engineered wood flooring does not have to be daunting. Using the appropriate tools and methods, most common problems can be successfully resolved, extending the lifespan of the flooring and preserving its natural allure. Regular maintenance and prompt repair of any damages are key to ensuring that your engineered wood flooring remains a durable and attractive part of your home for years to come.